Getting Started
Install AgentZuno with Docker, complete database setup, create your workspace, and connect an AI provider before your first request.
Install AgentZuno, create your workspace, and try your first employee request. You do not need to install the workflow SDK to use the app.
Docker
Install Docker with Compose, then clone the repository and create your configuration:
git clone https://github.com/danthedevman/AgentZuno.git
cd AgentZuno
cp .env.example .env
node -e "console.log(require('crypto').randomBytes(32).toString('base64'))"
Put the generated value in CREDENTIAL_ENCRYPTION_KEY in .env. Keep the key private and backed up; the API and worker use it to decrypt saved credentials. Do not commit .env.
Start the app:
docker compose up --build -dThe first start downloads the container images and local embedding model. Open localhost:3000 when the services are ready.
Set up your workspace
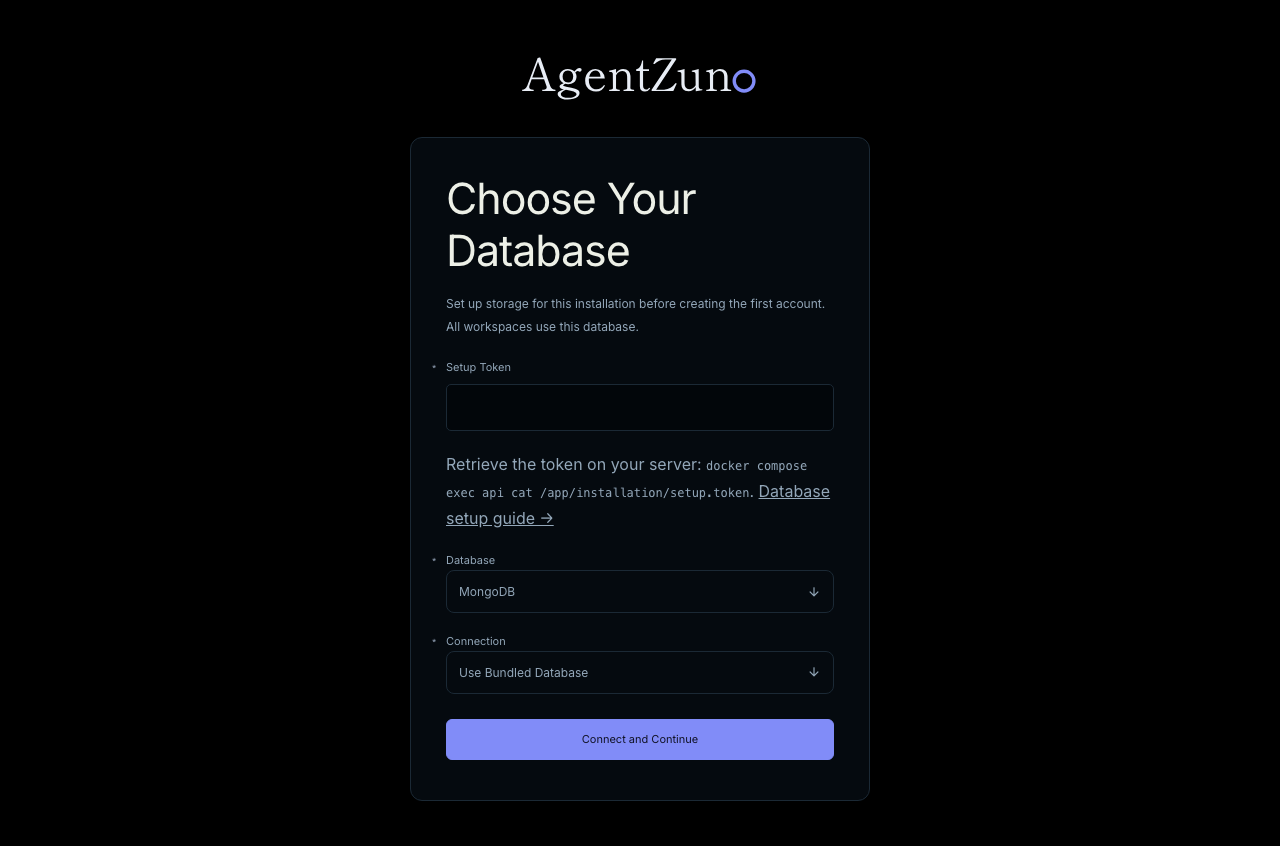
- In Choose Your Database, select bundled MongoDB or PostgreSQL, or enter your own connection.
- Retrieve the setup token with
docker compose exec api cat /app/installation/setup.token, enter it, and choose Connect and Continue. - Register your first account and follow the workspace setup wizard. You can skip steps and return to Settings later.
- Connect and enable an AI provider in Settings before starting an AI conversation. Configure channel connections, email, and identity settings only when your team needs them.
The database choice applies to the installation. See Database Setup for connection and recovery details, or Deployment & Hosting before exposing the app publicly.
Try your first request
As an Admin, publish a workflow and add any groups it needs. Open Chat, describe the request, and submit the offered form. Review its status in the request panel or Dashboard → My Requests.
For a ready-made example, open Settings → Demo Data, choose Tech, Media, or Retail, and load the fictional records. Demo workflows route internally without sending external notifications. Remove tagged demo data from the same Settings section when finished.
If setup does not work
- Database connection fails: check the selected connection and Database Setup.
- AI does not respond: configure an enabled provider in Settings.
- You need a local development environment: follow Local Development.
- You are upgrading an installation: follow Backups & Upgrades.